Introduction
In this post I describe and show how to assemble the keychianino: a keychain for maker and tech enthusiast
It is quite some time I am following the keychainino project on facebook , and I really love it. It is a small keychain full of technology and most of all is fully ptogrammable.
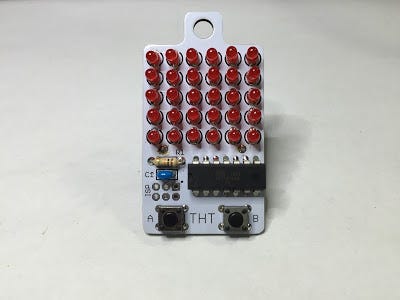
As described by its author: “keychainino is an arduino programmable keychain”, “is a vintage videogame to be used on the bus, on the metro or anytime one is bored and doesn’t know how to spend the time” :)
Assembling
Below the video of the assembling that I have done
Unboxing
Few days ago I have ordered my keychainino from here [http://www.keychainino.com/product/tht/] and now I got it.
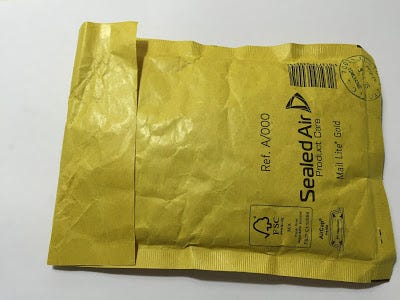
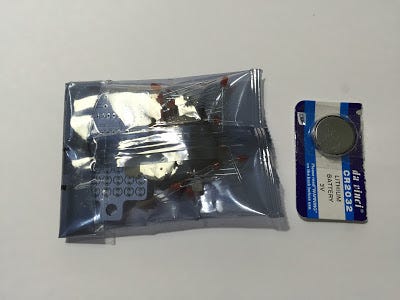
Once I have opened the envelop I found a CR2032 battery and a small antistatic bag containing all the necessary components for the assembly of keychainino (PCB, micro controller, led, resistor)
Bill of Material
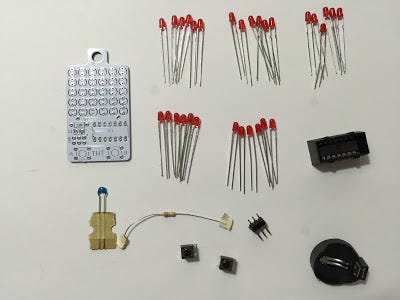
Below the full list of components part of the kit:
- Keychianino PCB
- 30 red Led
- 1 100nF Capacitor
- 1 10 KOhm Resistor
- 1 CR2032 battery holder
- 1 CR2032 battery
- 2 micro push buttons
- 1 ATTINY84A microcontroller
- 1 ISP pin header (6 pin)
Assembly tips
Before starting the assembly of the PCB and components let me just share few tips:
- Led are polarized components so it is very important to mount them in the right manner (otherwise keychainino will not work properly). The longer led leg is the anode (positive +) while the shorter one is the cathode (negative -)
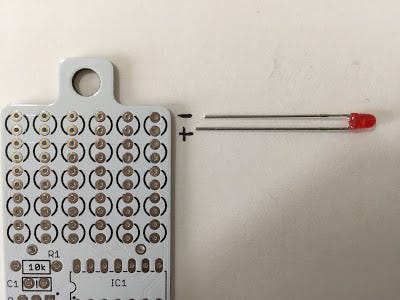
As shown in the above figure, for each led there are two holes in the PCB. The upper hole is for the cathode (negative -) of the led, while the lower hole is for the anode (positive +) of the led.
2. Base don the design of the PCB, the micro push button must be soldered in one specific position.
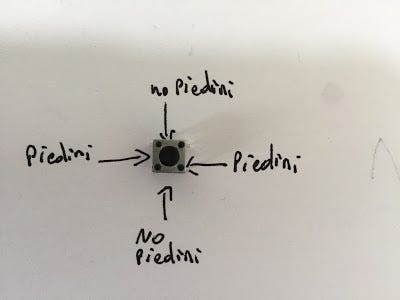
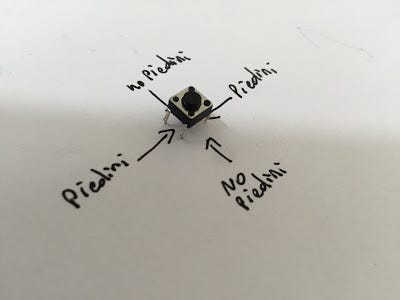
In the above picture, “piedini” stands for “pin”.
So if you look at the micro push button from the top, it must be positioned in a way that pins goes from left to right (not from top to bottom).
3. Also the micro controller ATTINY84A must be mounted in a specific position
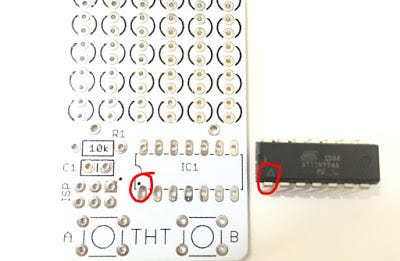
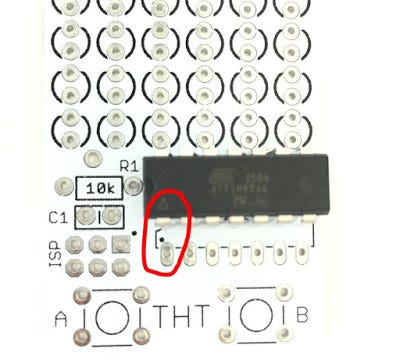
Looking at the PCB from the top, you can see a space named IC1 which is reserved for the micro controller. The bottom-left pad is marked with a tiny black dot.
In the same way if you look the micro controller from the top, you can see a white triangle
The right alignment of the micro controller on the PCB is when the white triangle is matching the tiny black dot as shown in the above picture
Assembly
Now that we know those important tips, we can move on with the assembly of keichainino. Suggest to follow this order:
Led
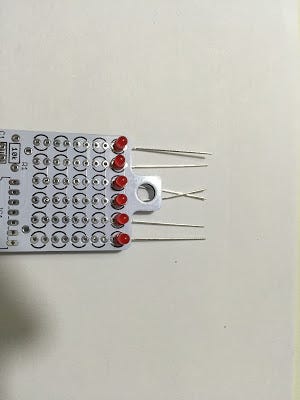
Insert 6 led in the first row of holes from the top. Important to respect the polarization as explained above
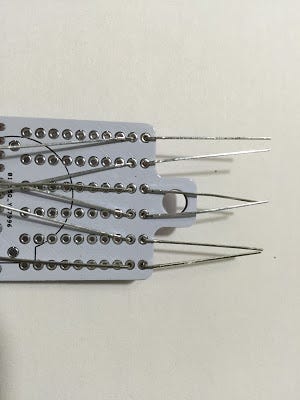
A good way to avoid the led moving is to bend its legs as shown in figure
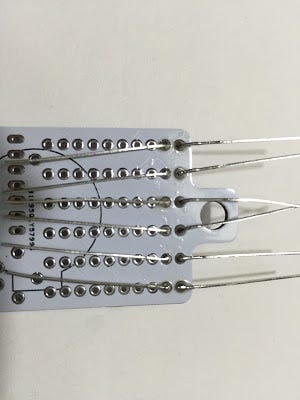
Now that the led are correctly positioned, we can solder each pin of each led
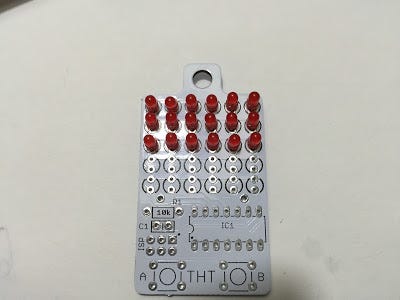
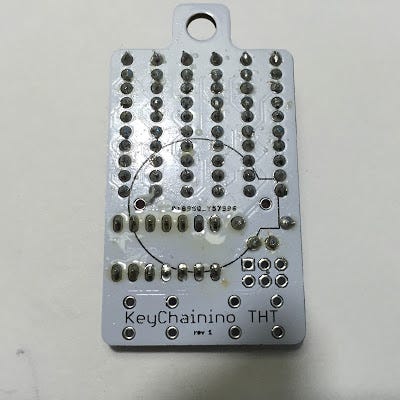
Let’s continue soldering all the led until the last row
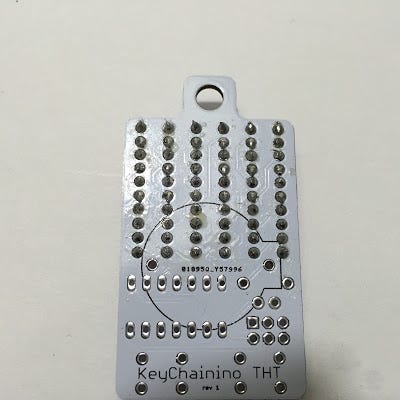
Now all the 60 solders of the led are done (I am sure you can solder much better than me) :) — in the end I am a software guy so I am excused :)
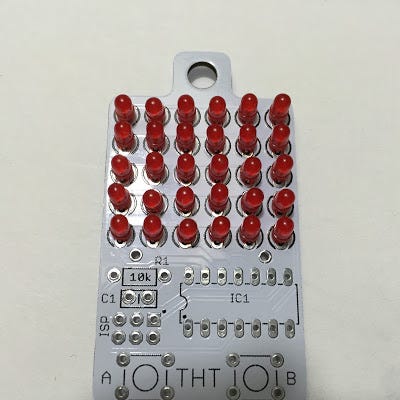
Resistors
Resistors don’t have polariti so it can be soldered in any direction
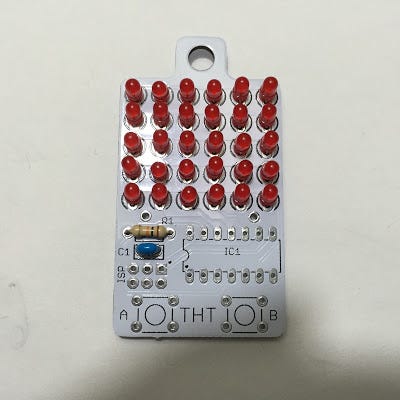
Capacitor
This is a ceramic capacitor and it doesn’t have any polarity, so feel free to solder it in any direction
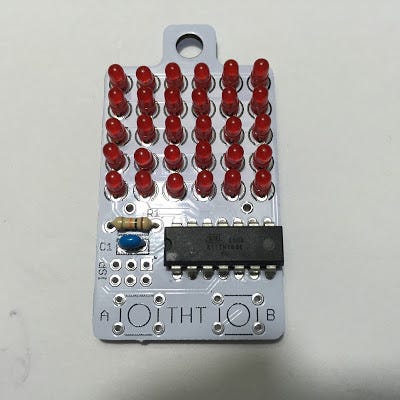
Micro Controller
In order to solder the micro controller I have used a more powerful solder (40W) compared to the one used for the LED (this might be or not your case)
Remember to respect the proper alignment of the micro controller chip as explained above
Micro Push Buttons
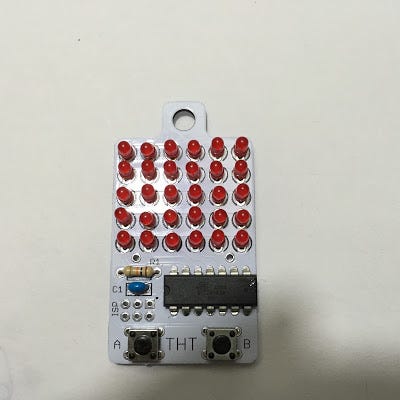
Remember to solder the push buttons in the right direction as explained above
Battery Holder and ISP connector
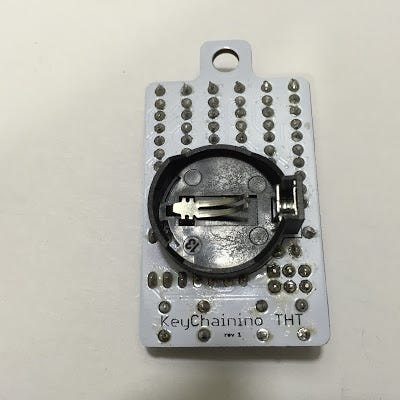
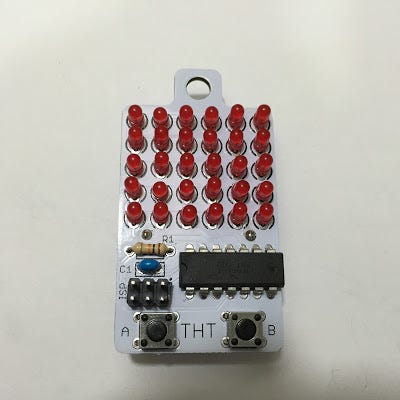
In the end our keychainino is fully assembled and ready for gaming!! :)
Nessun commento:
Posta un commento